Local AI Setup with Ollama and Nvidia GPU on Ubuntu Linux
Over the last few years, the usefulness of Large Language Models as a type of Artificial Intelligence is impossible to miss. As a computer scientist, I’ve seen many tech hype waves over my career and tend to maintain a naturally skeptical view. I’m well convinced that LLM technology has its uses, has improved greatly, and also has a great many shortcomings.
Among the biggest structural short comings are security and privacy concerns, including legally mandated ones such as the reporting that a Court orders OpenAI to preserve all ChatGPT logs, including deleted, temporary chats and API requests. In my line of work, this is a serious problem that breaks data retention and information sharing rules. Open AI reportedly appealed this decision and the case is still ongoing.
Regardless of the outcome, it makes a great deal of sense to find ways to use this technology and maintain full control of your own data in-house, including the freedom to actually delete it from your local database without having it secretly preserved by a service provider.
Let’s take a look at self-hosting an LLM on Linux!
Developing with a Local AI Self-Hosting LLM Models
My friend Dave Kimura, of Drifting Ruby, introduced me to Ollama a few years ago. While working with public large language models on a subscription basis is doable, I found that being able to work locally had tremendous merit.
On my Ubuntu Linux development system, I have a relatively powerful Nvidia GeForce RTX 4070 SUPER, and I keep a simple Docker folder where I can drop in and run docker compose up and immediately get ready working with an LLM via Ollama using my powerful GPU. I can even connect to it locally from Ruby on Rails for scripted calls to the LLM.
In addition to speed, self-hosting locally provides a great deal of flexibility and keeps costs down when doing experimental high token use work. It also has security benefits knowing that your offline work stays offline. This can be particularly useful when complying with strict contractual requirements on data processors’ information sharing.
Choosing the Right Model
A word of advice, when designing your LLM-backed processes test with multiple models. The results may surprise you, in my OCR prototype I found simpler/smaller models outperformed the larger sophisticated models. They just did what was asked in the prompt whereas Deepseek was more prone to reword the text despite being requested not to. In short, test it with more than one model and choose the one that is the best for the job.
The Docker Setup
On my workstation, I have Docker CLI and the Docker Compose plugin installed natively. I roughly follow the Digital Ocean guide at How To Install and Use Docker on Ubuntu.
For my GPU to be made available, I set NVIDIA_VISIBLE_DEVICES and NVIDIA_DRIVER_CAPABILITIES environment variables and pass through the device via the resource reservations configuration like this in the docker-compose.yml file.
docker-compose.yml
# Requires https://docs.nvidia.com/datacenter/cloud-native/container-toolkit/latest/install-guide.html
services:
  ollama:
    image: ollama/ollama:latest
    ports:
      - 11434:11434
    environment:
      - NVIDIA_VISIBLE_DEVICES=1
      - NVIDIA_DRIVER_CAPABILITIES=compute,utility
    command: serve
    deploy:
      resources:
        reservations:
          devices:
            - driver: "nvidia"
              device_ids: ["0"]
              capabilities: [gpu]
    restart: always
    volumes:
      - ollama:/root/.ollama

  webui:
    image: ghcr.io/open-webui/open-webui:latest
    expose:
      - 8080/tcp
    ports:
      - 8080:8080/tcp
    environment:
      - OLLAMA_BASE_URL=http://ollama:11434
      # uncomment the following if you are running ollama on the docker host and remove the ollama service below
      #- OLLAMA_BASE_URL=http://host.docker.internal:11434
    volumes:
      - open-webui:/app/backend/data
    depends_on:
      - ollama

volumes:
  ollama:
  open-webui:
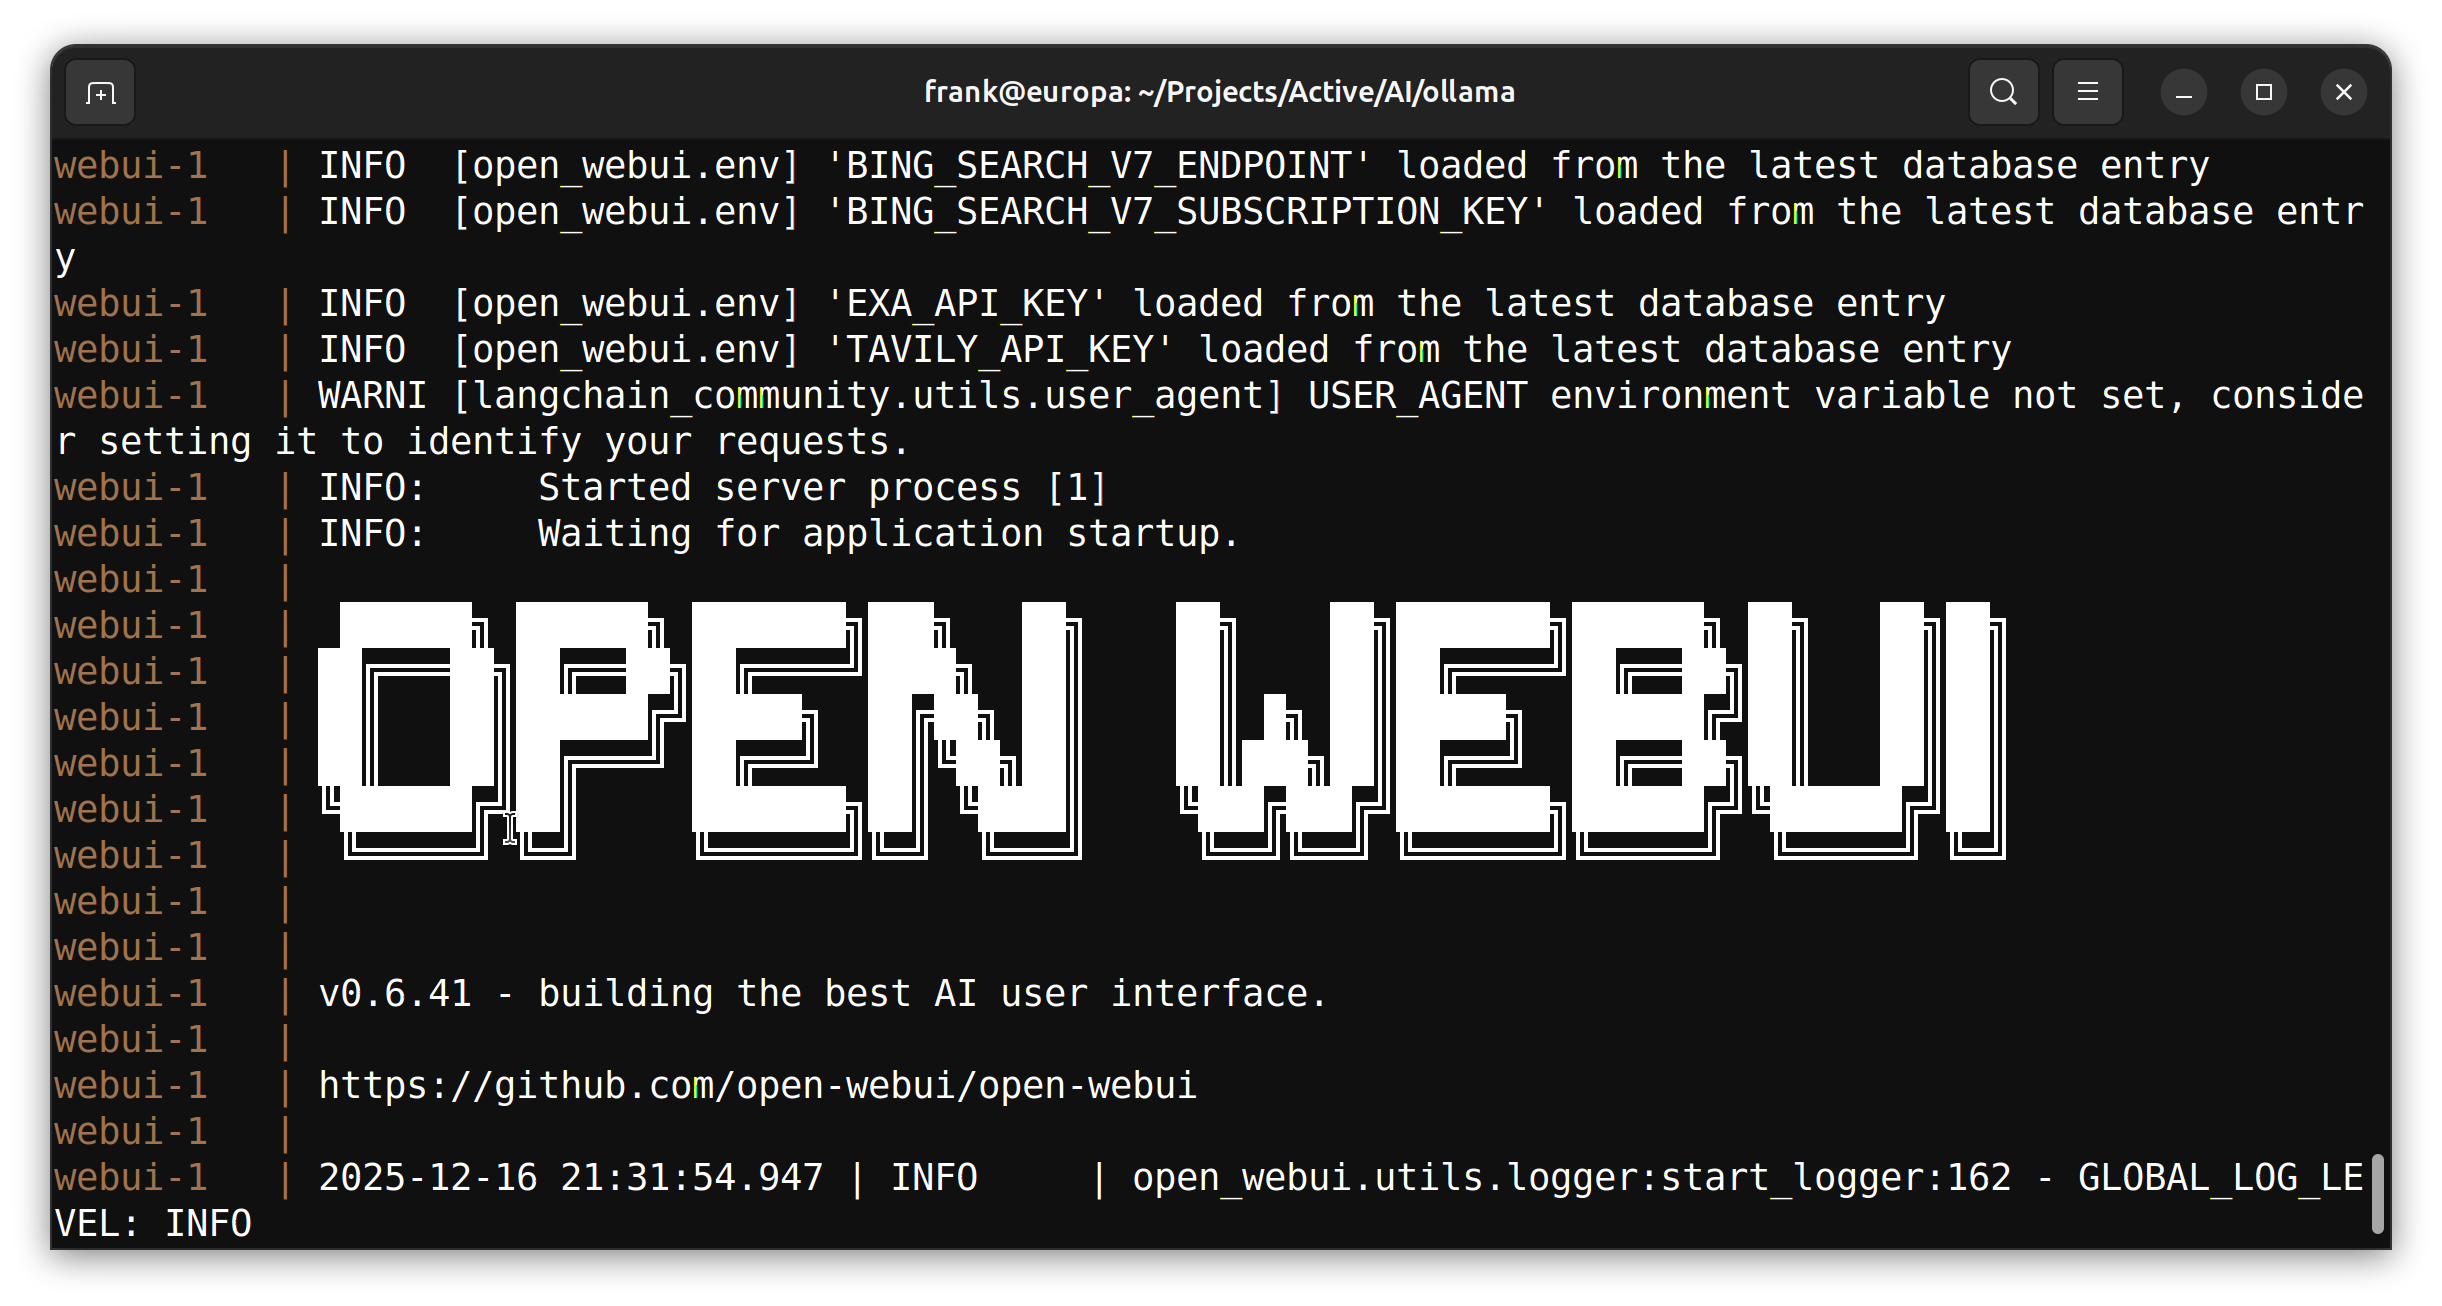
Now by just going to that directory and running docker compose up
The Docker platform will download all dependencies and present a running WebUI server in the console.
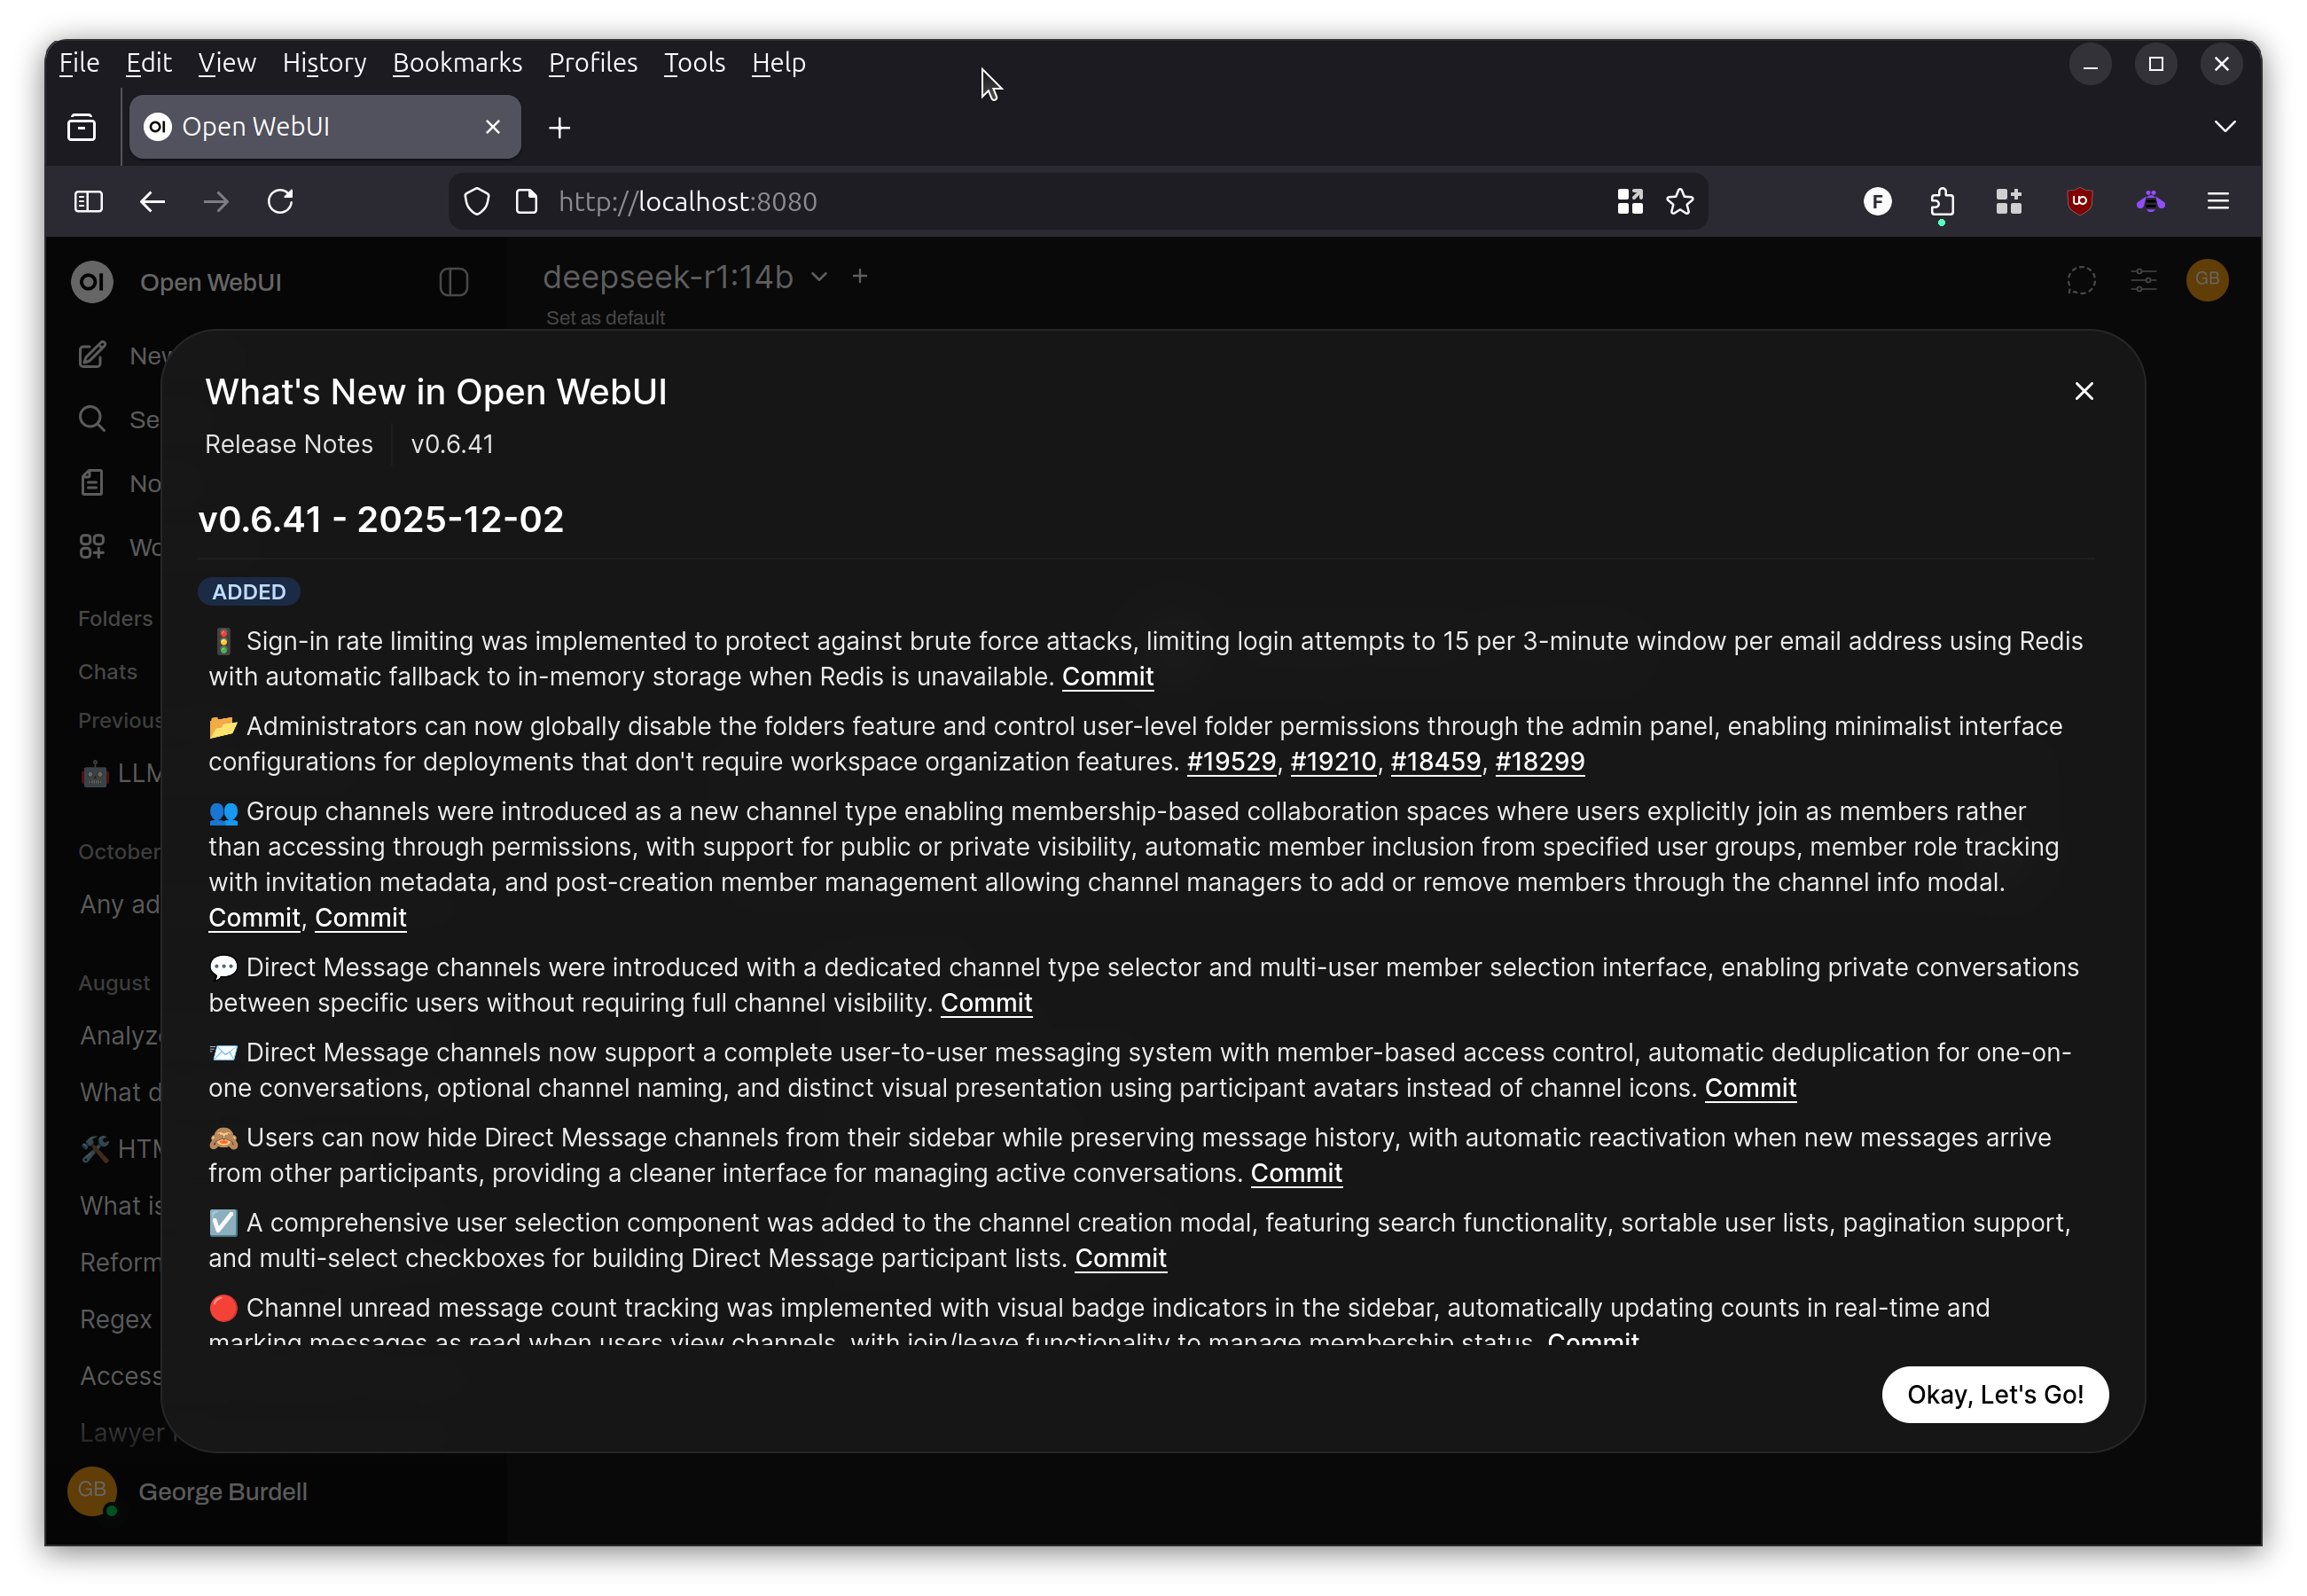
After this, you can open with your favorite web browser to http://localhost:8080 and get started setting up your environment or chatting with an LLM.
Multiple Models
When self-hosting, you are not limited to just one model. You can install any of those available that will fit within your GPU’s memory capability. Here are just a few I have installed on my local set up.
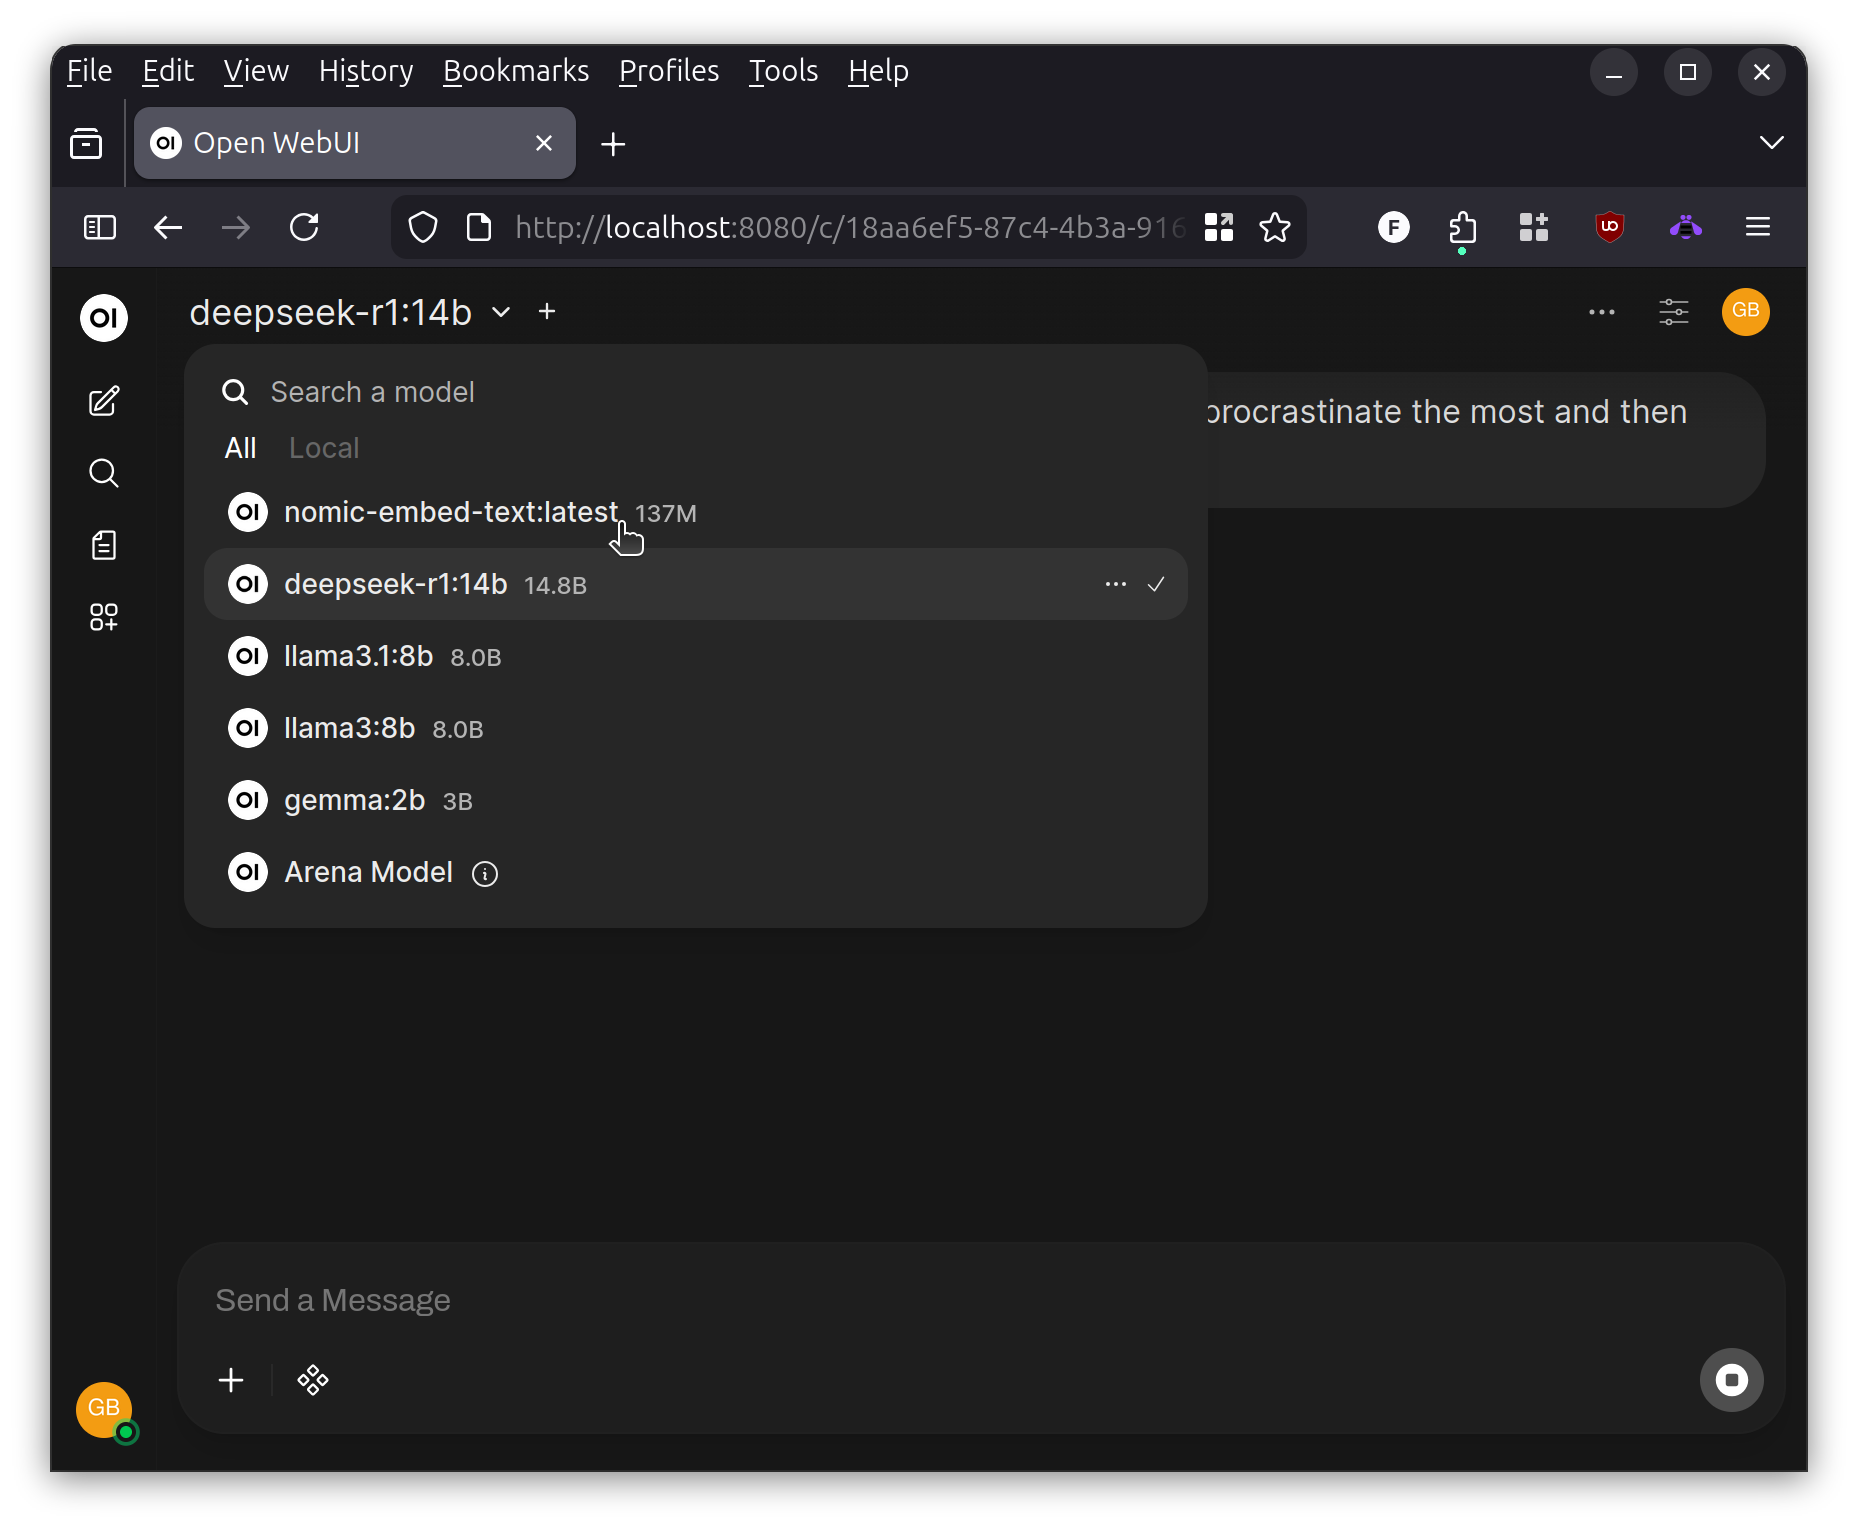
A good source for models in 2025 is Hugging Face.
API Access
You are not limited to just chatting with the local self-hosted LLM, but can also programmatically access it. My experience to date has been through Ruby and the OpenAI RubyGem.
My preference is to make a very simple base class that allows me to open a connection and chat with the LLM and then parse the response back. I then subclass the base class for particular prompt engineering that solves a specific task.
For example, the following two Ruby classes can start to form the basis for a OCR wrapper scheme that uses the LLM to help correct garbled text. Consider the following example that uses the simpler llama3.1 model to process plain text obtained from a Tasseract OCR process (code not shown). The AiBase provides a base class that communicates with the local Ollama server without the need for complex authorization since it is on the same machine. The AiOcrCorrection class subclasses it and adds a detailed prompt that instructs the LLM on what actions to take. Notice in the prompt that we unambiguously tell the LLM to return clean text without commentary. You have to play around with your model to find the way to pull this off consistently but it works more times than not.
require 'openai'
require 'json'

class AiBase
  attr_accessor :source_text, :response_text
  def initialize(ai_model: nil, source_text: nil)
      @client = OpenAI::Client.new(
          uri_base: "http://localhost:11434"
          )

      # Use the preferred AI model, or default to llama3.1 if none specified
      @ai_model = ai_model || "llama3.1:8b"
      @response = nil
      @response_text = nil
      @source_text = source_text || ""
  end

  def chat(message_text)
      @response = @client.chat(
          parameters: {
              model: @ai_model, # Required.
              messages: [{ role: "user", content: message_text}], # Required.
              temperature: 0.7,
          }
      )
      if !@response.nil?
        @response_text = @response.dig("choices", 0, "message", "content")
      else
        @response_text = nil
      end
  end

  def submit
      chat("#{prompt}\n\n---\n\n#{source_text}")
      post_process_result
  end

  def post_process_result
    # An intentional no-op
    # Override if you need specific regex based corrections after processing
  end

  def prompt
    raise("Must be implemented by a subclass.")
  end

  def response_json
    t = @response_text
    t[0,7]="" if t[0,7]=="```json"
    t[0,3]="" if t[0,3]=="```"
    t.chomp!('```')
    JSON.parse(t)
  end

end

class AiOcrCorrection < AiBase
  def initialize(ai_model: nil, source_text:)
    super(ai_model: ai_model, source_text: source_text)
  end

  def prompt
    <<~LLM
      Accessibility Expert Review Prompt for OCR Text

      **Formatting Guidelines:**
      * Ensure headlines are single lines without extraneous newlines.

      **Content Priorities:**
      * Correct misspellings related to accessibility.
      * Reformat text into simple paragraphs.
      * Preserve original capitalization unless specified otherwise.

      **Specific Instructions:**
      * Use standard United States legal language, as these are court documents.
      * Be conservative in editing; retain unknown words and formatting as they appear.
      * The main body of the content starts with a date followed by a title. Ensure extra new lines above and below the title for clear accessibility.

      **Output Requirements:**
      * Provide only reformatted text without commentary.
      * Ensure the final output is clean, concise, and suitable for automated processing.

      Only reply with the revised text, nothing else.
    LLM
  end
end
Once these classes are in place, whichever method you have to fetch the OCR text can call to this LLM-driven processor simply with:
def process(original_text)
  ocr_correction = AiOcrCorrection.new(source_text: original_text)
  ocr_correction.submit
  ocr_correction.response_text
end

#...
Conclusion
This short article is not intended to give the full walk through on exactly how to set up this environment but to give you an idea of the sort of powerful AI workloads available via Docker running on a local Linux workstation. It helps to have a newer GPU, but even if yours is several years old, there’s still a great deal you can do locally.
For example, this prototype OCR process was able to run on several thousand files locally in only a few minutes. This would have been much more intense and expensive to do via a cloud-hosted AI provider.
Additionally, the added security and privacy are huge wins vs sharing data with large firms that sell (or give away) hosted AI services. And in the case of free services, you have to always remember that your data and collecting it is the product when you make use.
If you want a more hands on tutorials in Ruby, check out Dave’s episodes on Generative Text, Streaming LLM Responses, and more.
Also let me know if you want more of this content on this blog. I can certainly write more on this topic.